OpenGL Renderer and CPU Path Tracer

Inspired by my old WebGL work on creating a JavaScript-based ray tracer, I wanted to try to re-create the project in OpenGL and use it as a platform to take a deeper dive into rasterized graphics and ray tracing. So, I followed The Cherno’s YouTube series on creating an OpenGL-based rasterized renderer. His videos guided me through a basic setup for an extendable OpenGL-based renderer with ImGui and support for multiple types of shaders and textures. I extended the rasterized renderer to complete the course assignments for Cem Yuksel’s Interactive Graphics Course, adding environment maps, reflections, shadow maps, and bump mapping with tessellation and geometry shaders.
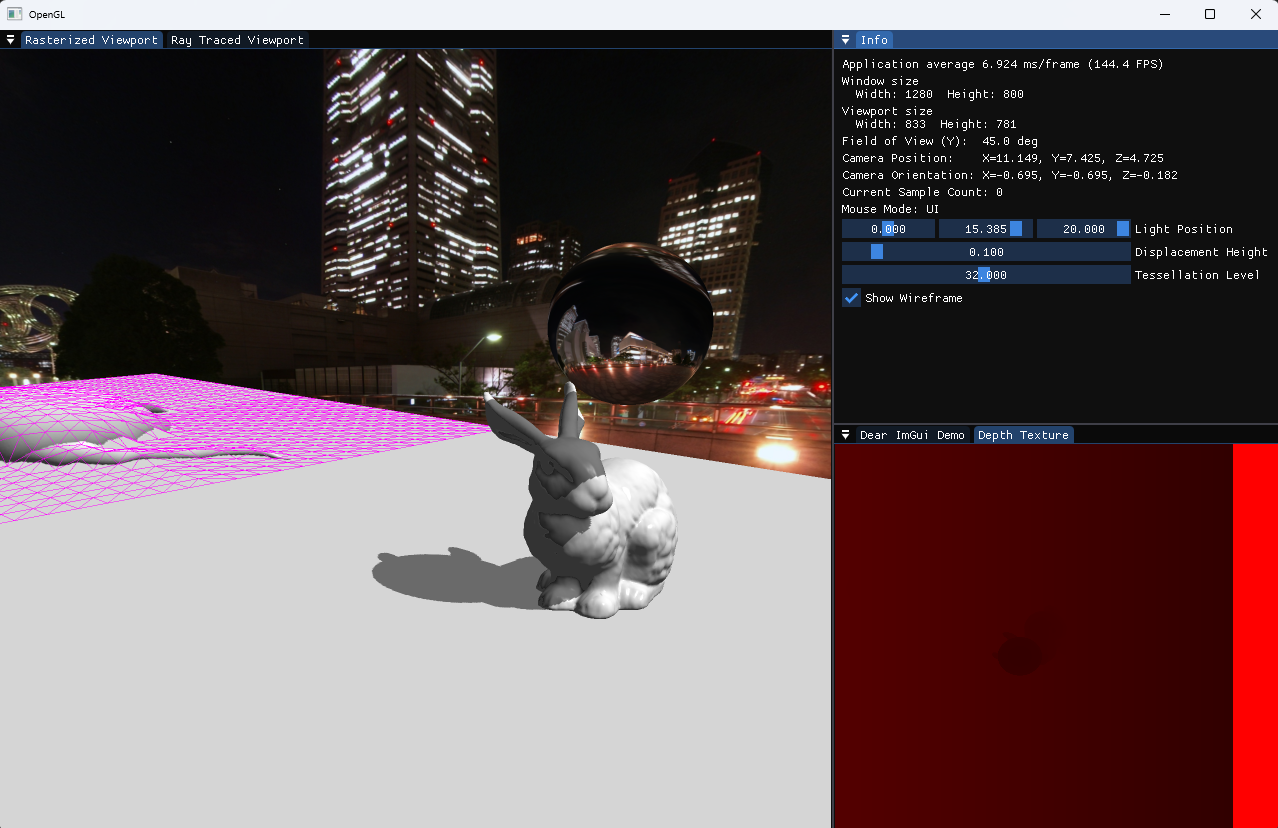
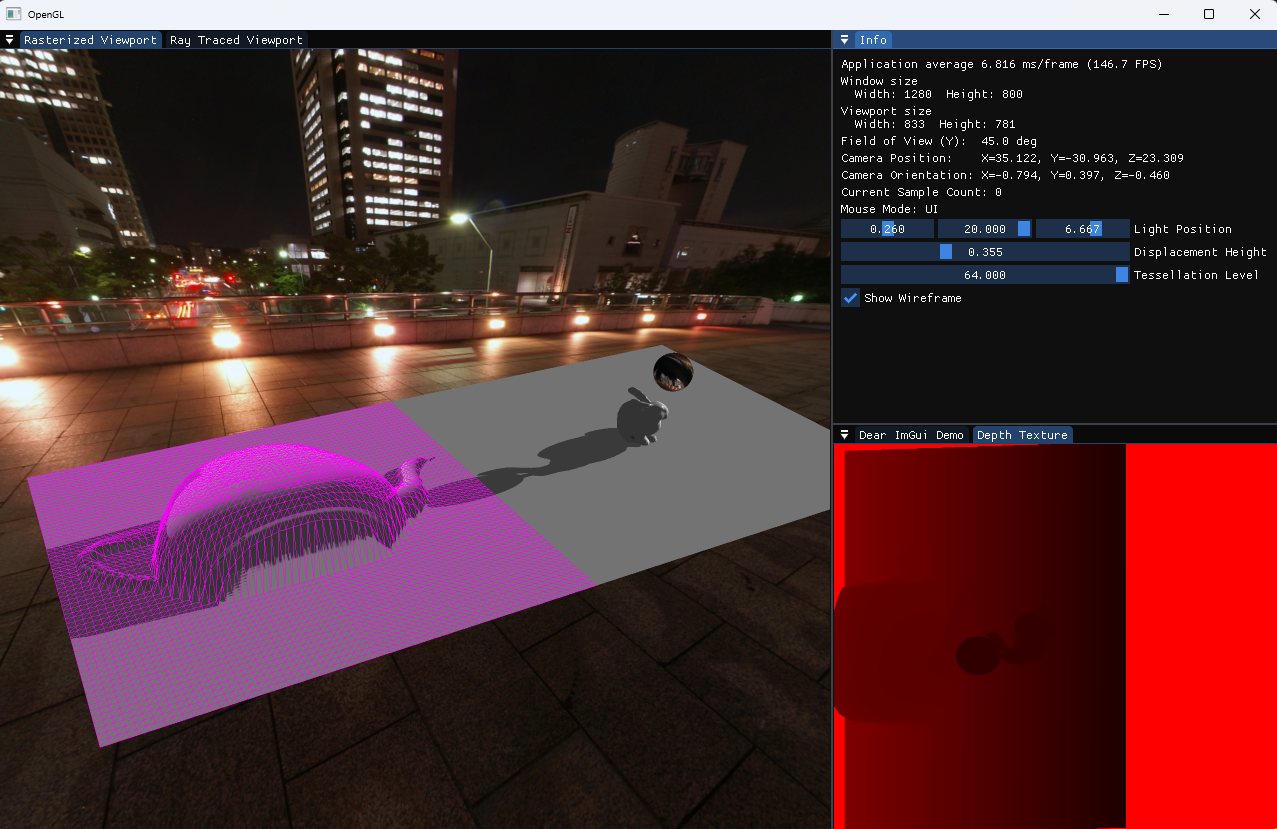
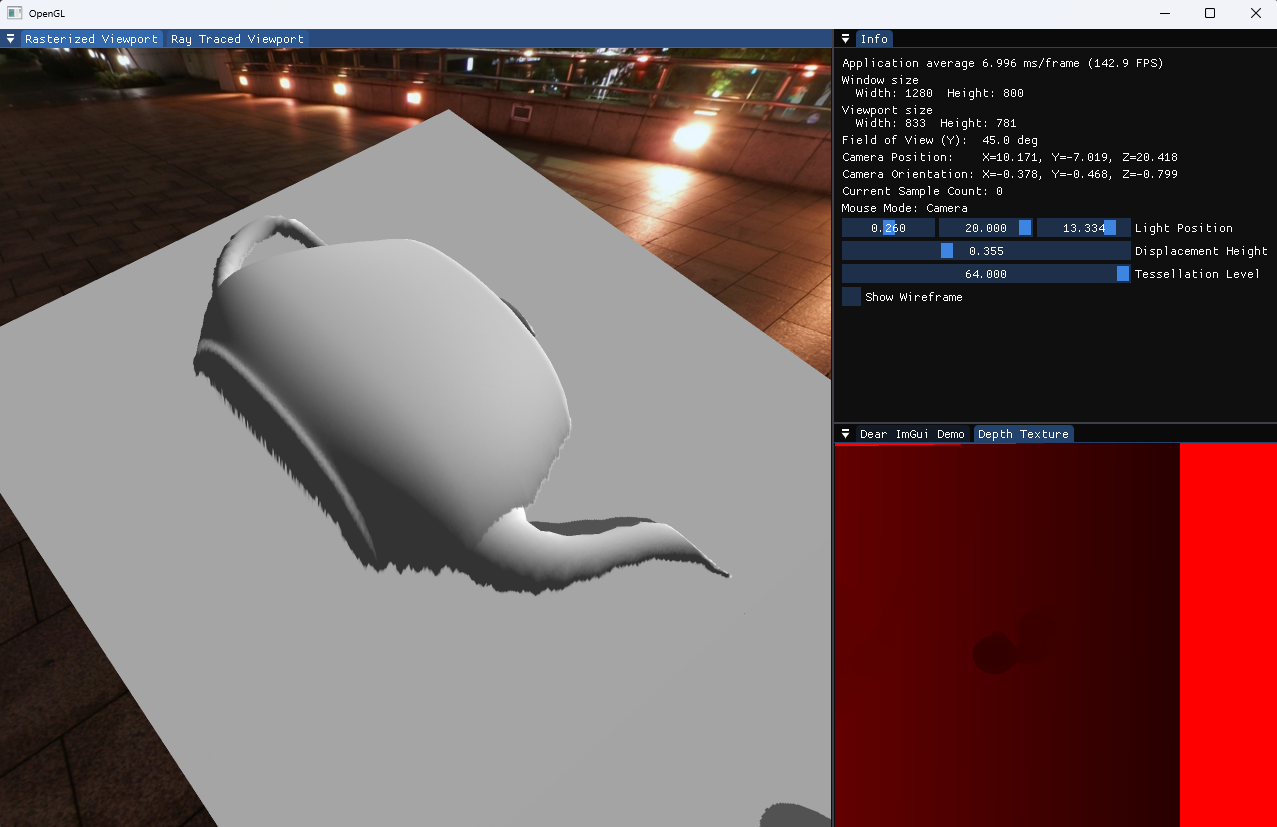
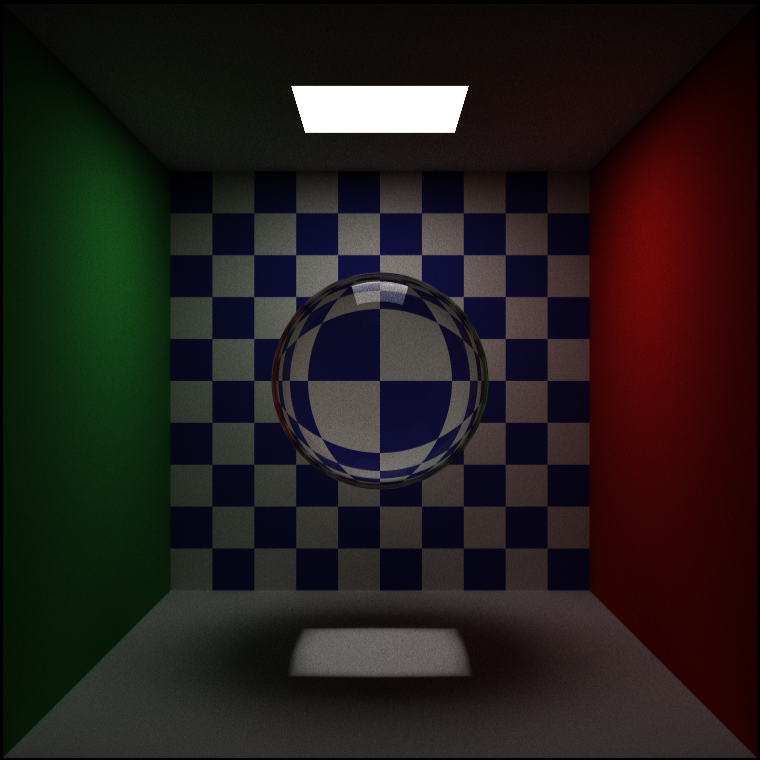
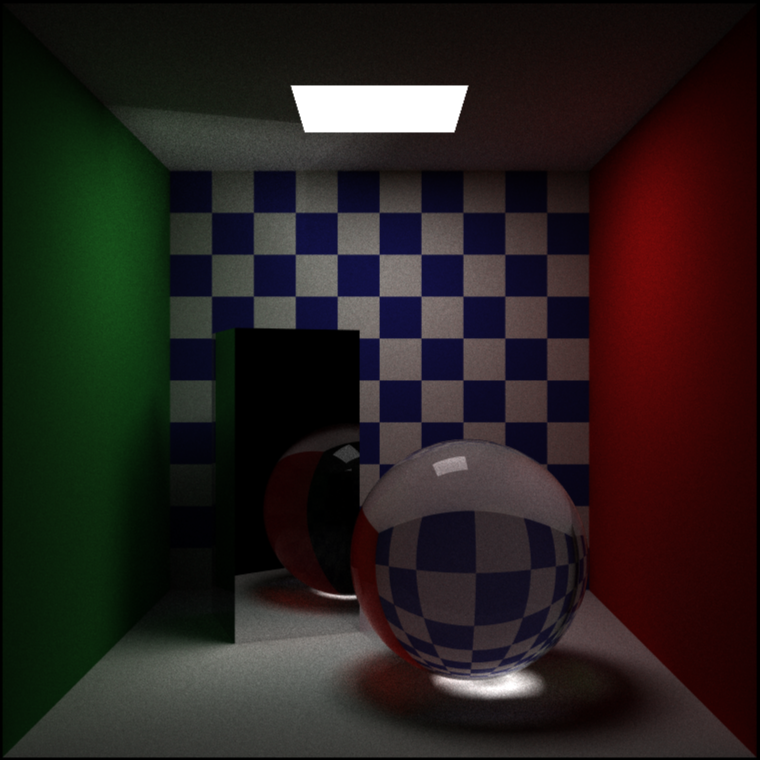
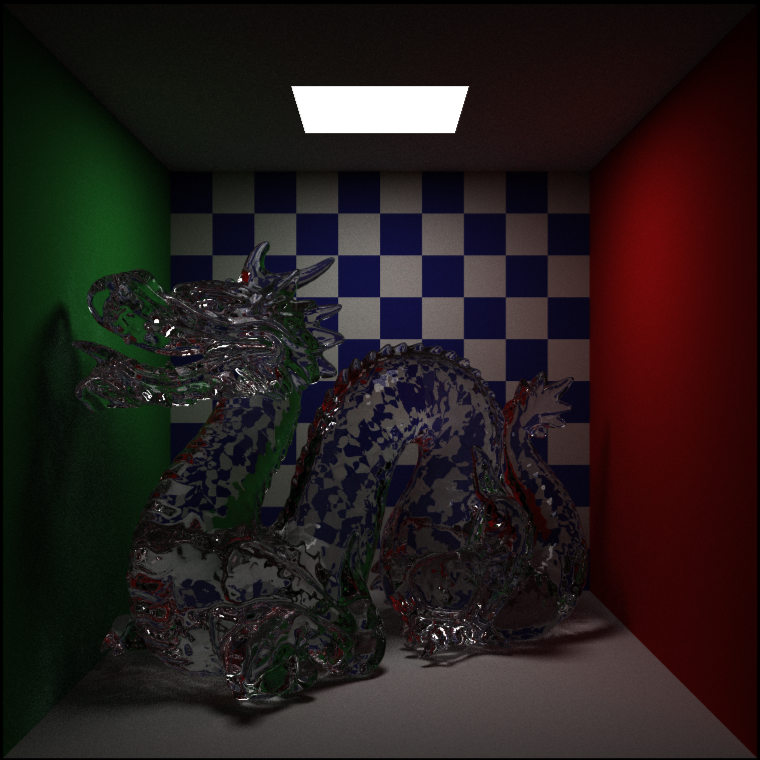
At the same time, I used the ImGui setup to create a ray traced viewport, allowing me to see the progress of my CPU-based ray traced images in real time. For the ray tracer itself, I mostly followed along with Peter Shirley’s Ray Tracing in One Weekend series, though I handled a few things like object transforms differently, opting for a more general transformation matrix representation for all of my geometry. At the end of the series, I had a convincing path tracer with support for importance sampling and bounding volume hierarchies.

Since this was a personal learning project, I don’t have much in the repo in terms of setup instructions. But if you still want to check out the code, it can be accessed here.
Resources used in learning everything to make this project possible: